Rollover images
Rollover images allow you to have a graphic change to a different graphic when the mouse rolls over it. To insert a rollover image, do the following:
1. Click on Insert > Image Objects > Rollover Images.
2. In the Insert Rollover Image dialog box under Original Image, browse for the image that is to be seen before the mouse rolls over it (Fig.23).
3. Under Rollover Image browse for the image to be seen when the mouse rolls over it.
4. In the When clicked. Go to URL field, you can enter a link by typing in the web address or browsing to a file.
5. Click OK.
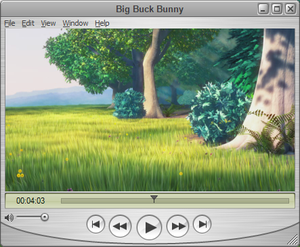
 QuickTime Movie
To insert a movie, follow these simple steps:
1. Click on Insert > Media > Plug-in.
2. Navigate to the desired file.
3. Click Choose.
NOTE: By default the QuickTime is viewed in a very small window; to make the window larger, click on it once and drag one of the corners to the desired size. Make sure the movie file is located in your local root folder.
Embedding a Power Point Presentation
To insert a Power Point Presentation, do the following:
1. Open a project in PowerPoint.
2. Click Save as Web Page.
3. Put both the .html and the folder of files created in PowerPoint into your local root folder.
NOTE: The file .html is now your PowerPoint embedded into a Web page; you can double-click on it to open it in a browser.
4. Insert a link to your PowerPoint .html file. Now if the user clicks on the link, your presentation will open.

No comments:
Post a Comment